
Here’s a question every underwater photographer has asked themselves: Can you capture great wide-angle and macro photos with just one strobe?
The short answer is absolutely!
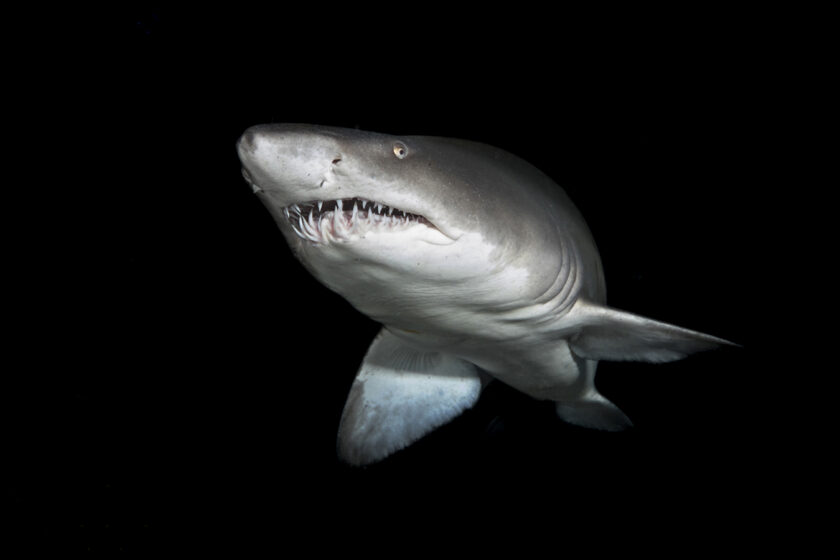
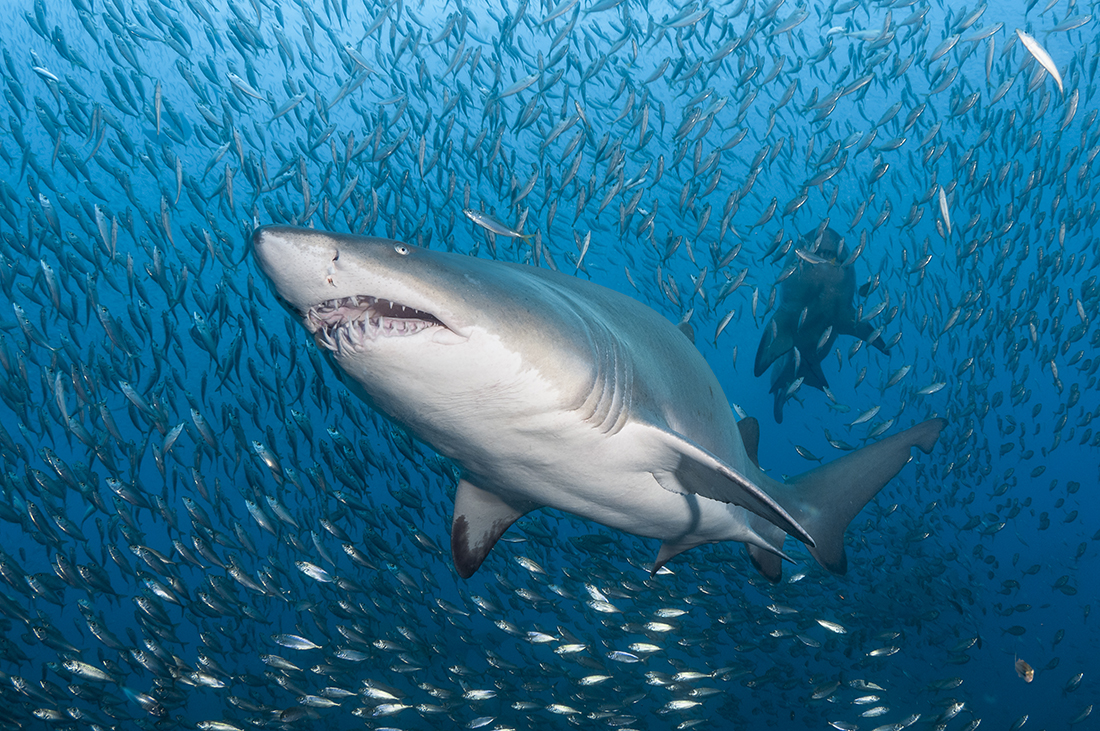
Don’t believe me. Take another look of the sand tiger shark image coming out of the dark at the top of the page. To get this toothy fellow, I only needed one strobe positioned straight off to the right of the camera.
While two strobes offer the advantage of balanced lighting and provide a critical backup should one fail, restricting yourself to a single flash is not a handicap—it’s an opportunity. Historically, it was the only option. From the Nikonos I to V to early SLR housings, a single bulkhead connection was the standard. Sync cords were temperamental, and adding a “Y” cord to fire two flashes often doubled the frustration. Even as technology improved, the single strobe remained the mainstay for many due to budget, simplicity, and familiarity.
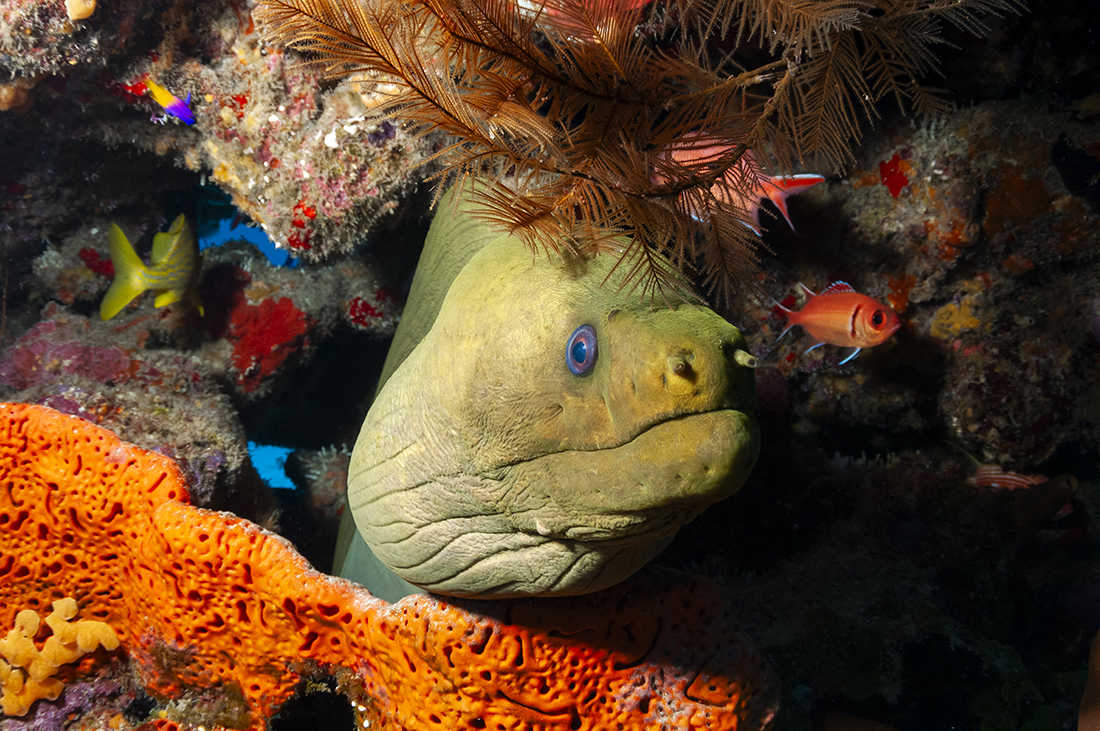
In the world of underwater photography, two strobes are great, but one is certainly not none. In fact, shooting with a single strobe can significantly streamline your system by reducing overall size and weight, simplifying handling, and—most importantly—forcing you to be more creative.
Mastering Wide-Angle: Effects Through Single Strobe Placement
The goal of single strobe lighting for wide-angle is often to recreate the natural look of the sun. The “old school” method for strobe placement involves positioning the flash high and angled slightly downward from the 10, 12, or 2 o’clock position. This mimics the direction of ambient light, adding color and detail without looking artificial.

To bring out this striking black and white crocodile fish blending almost too well on a bottom of light-colored broken coral, a minimalist approach of placing a single strobe up high in the 1 o’clock position was all it took. By aligning that one strobe (set manually at half power) with the sun shining down from above further enhances the natural light already there. Camera settings: ISO 400, 1/125 sec at f/11.
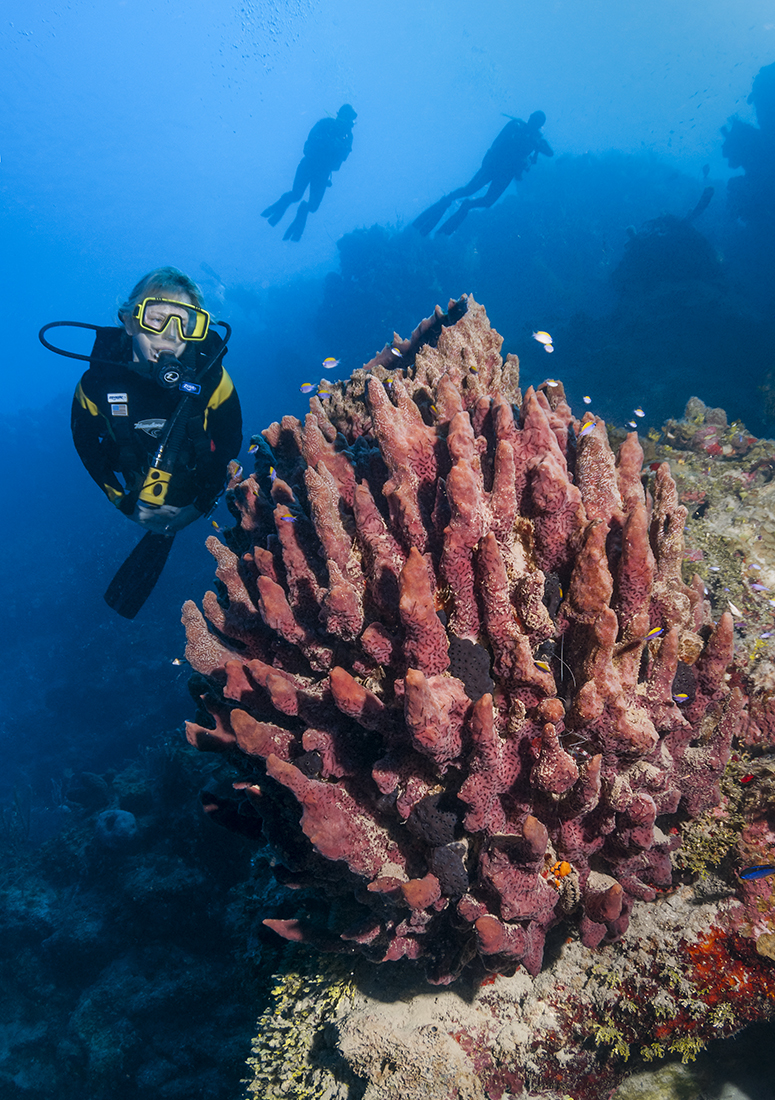
To light this shot of a diver looking at a giant barrel sponge, the strobe arm was stretched out and up to the 2 o’clock position with a slight downward tilt. This effectively illuminated the most colorful and important portion of the scene while respecting the natural direction of the overhead light.
When to Embrace the Shadow
Sometimes, the absence of light on one side is the key to a compelling image. A single strobe placed to the side can create dramatic shadows and texture—an effect often impossible to achieve with a dual setup.
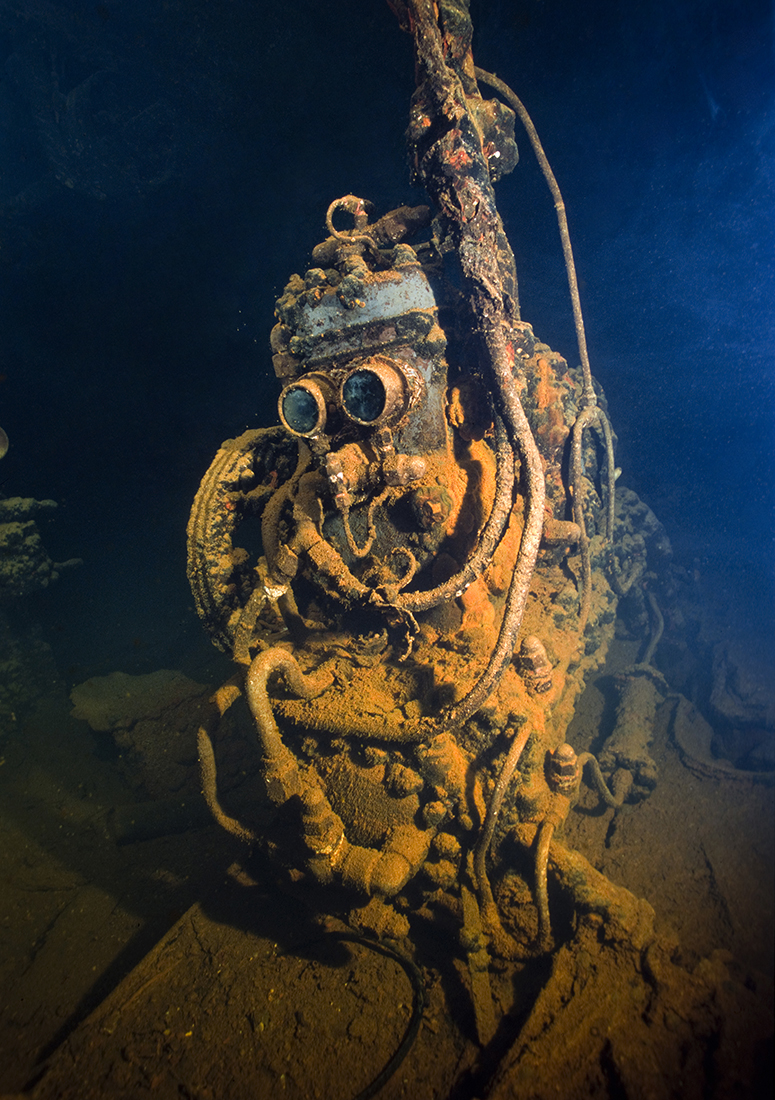
While diving the Fujikawa Maru wreck in Truk Lagoon, one of my strobes failed while approaching the air compressor, nicknamed “R2D2.” Instead of abandoning the shot, I placed the one remaining strobe to the far right in the 3 o’clock position to illuminate the compressor exclusively on one side. The resulting side lighting dramatically enhanced the texture of the rust-laden machinery and gave the iconic subject a more forlorn, evocative character.
One vs. Two Comparison
To illustrate how radical the difference can be, let’s look at two images of sand tiger sharks taken off the North Carolina Coast:
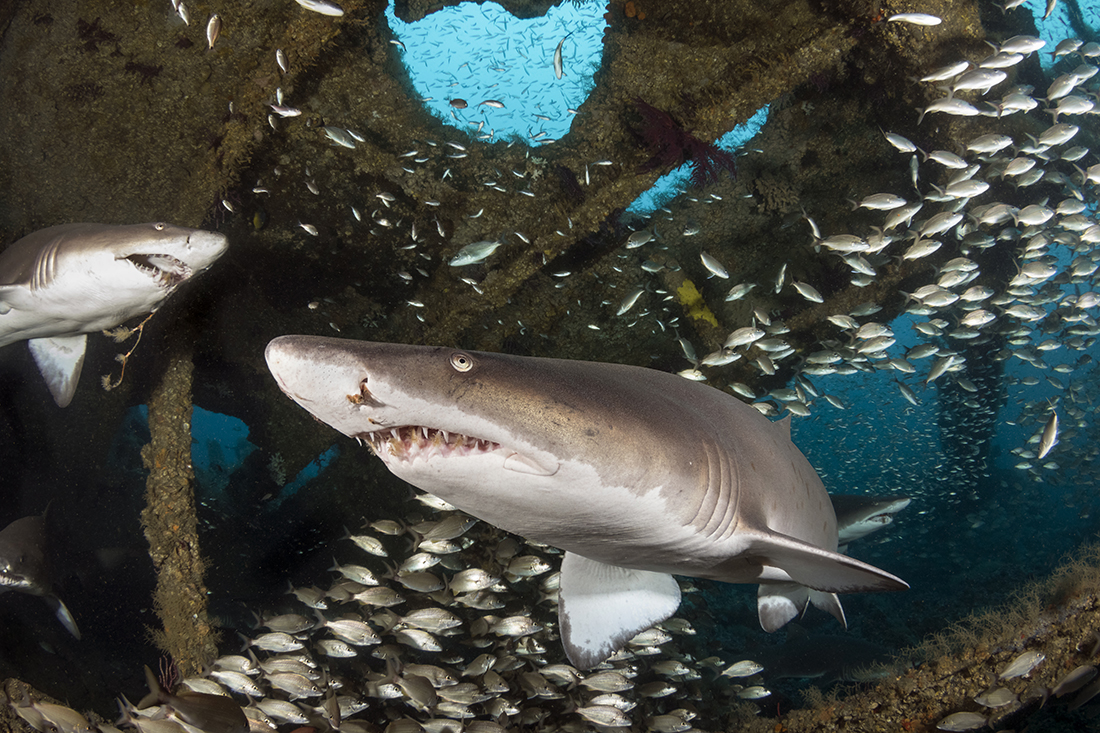
Shot taken with two strobes placed at equal distance in the 9 and 3 o’clock position and aimed slightly upward. The effect is a captivating, evenly lit scene. The light reveals the sharks inside the wreck and highlights a school of baitfish to detail their environment.
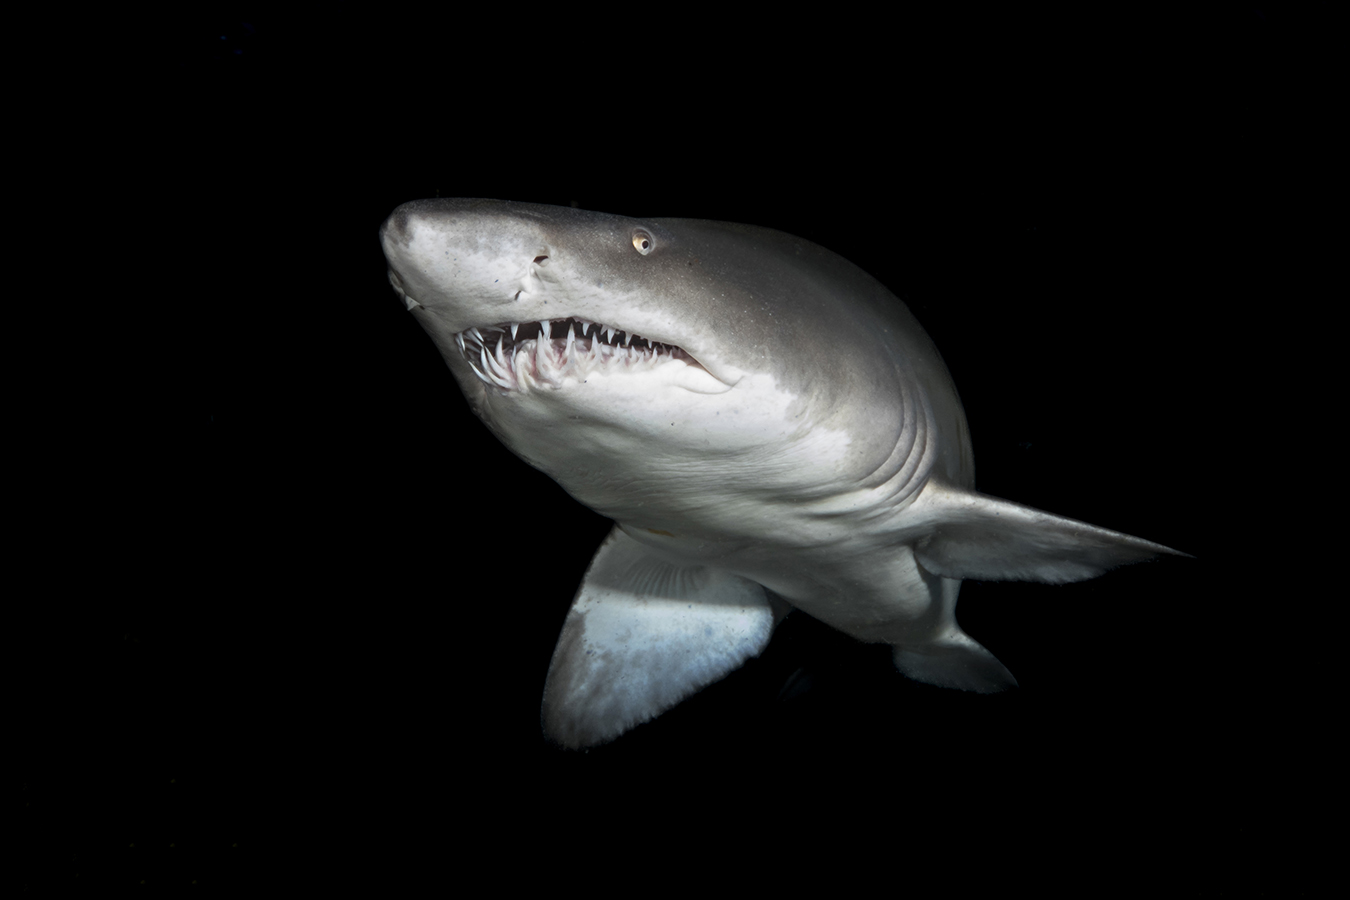
Shot taken with only one strobe as a source of lighting in the 3 o’clock position. The shutter speed was increased to 1/250 of a second with the ISO set at 100 to cut out the ambient light. Through a single, powerful light source on the shark gives it creates a super dramatic appearance of it emerging out of the void with its toothy smile taking center stage.
Macro Photography: The Focused Power of One
For macro photography, a single light source is often all you need—and for some photographers, it’s the primary intent rather than an alternative.
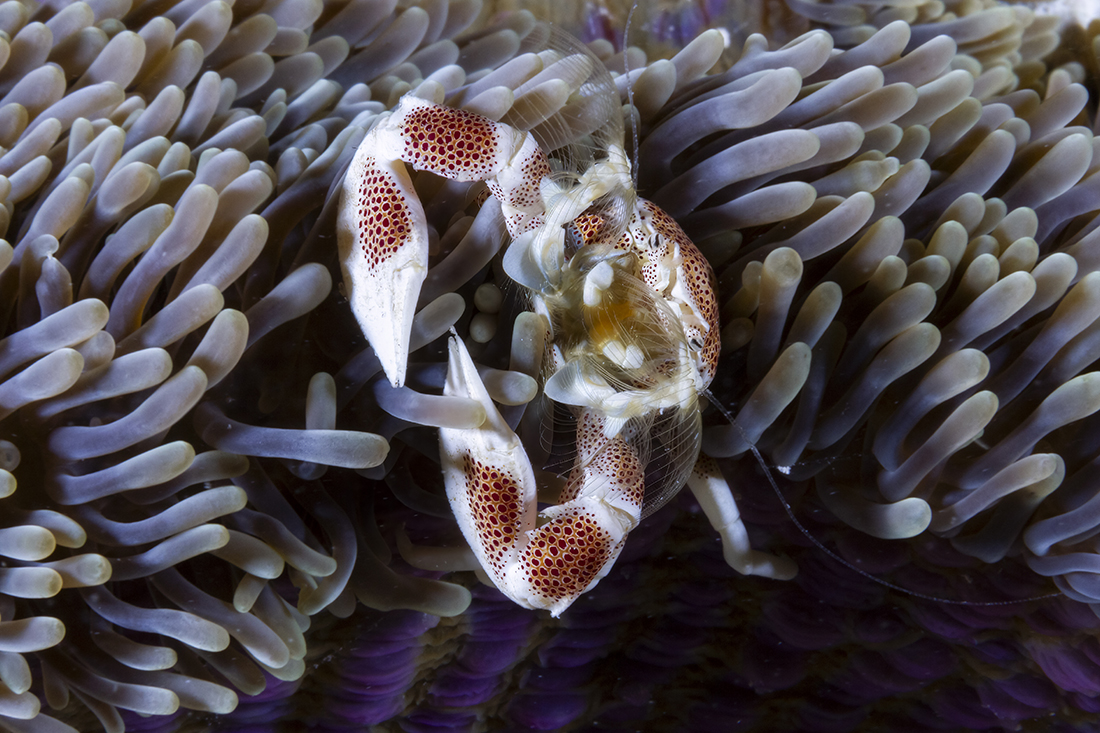
This portrait shot of a porcelain crab which was rendered with a single flash placed in the 10 o’clock position just off the lens. The result is a simple, clean, and effective image that captures a bit of the subject’s mood with soft shadows.
The Art of Isolation: Snooting
The most intriguing application for photographing small critters is using a snoot. A snoot is a conical or cylindrical device attached to the flash head that modifies the light into a narrow, focused beam. The object is to direct light onto a specific spot, ensuring the viewer’s attention is immediately drawn to the point of interest.
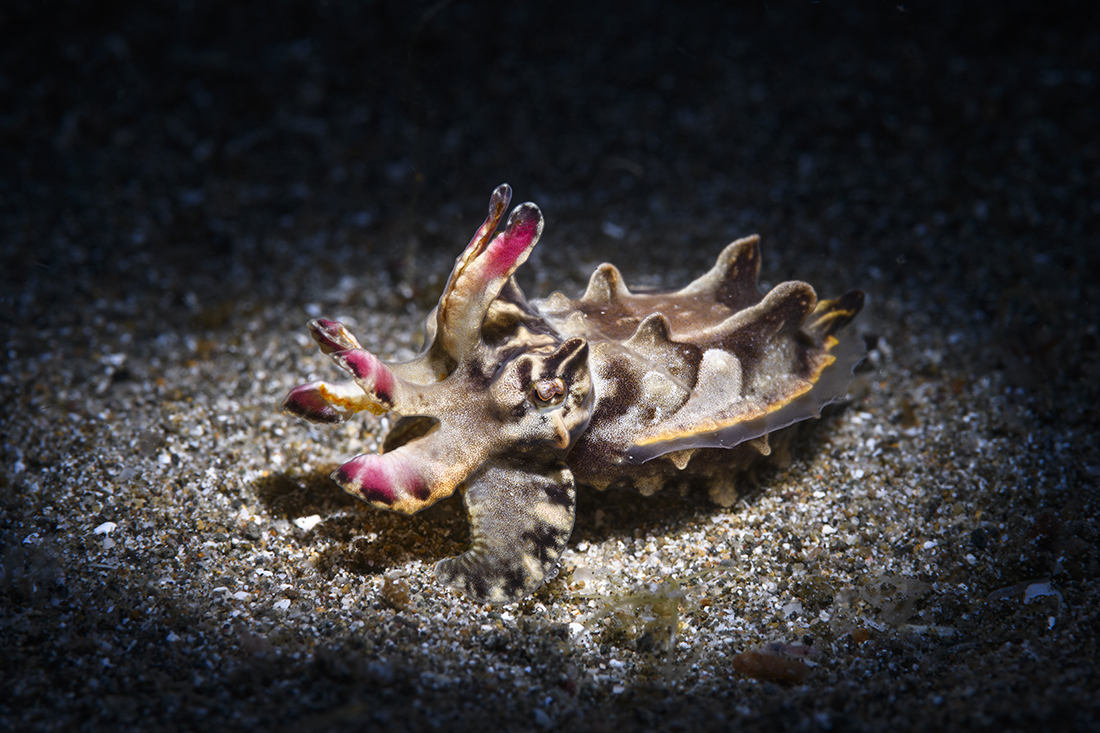
By aiming the end of the snoot straight down on this little flamboyant cuttlefish, I was able to illuminate the subject without spilling light into unwanted areas. This intentional isolation keeps all focus on the colorful center of the image.
Accentuating Form: Backlighting and Rim Lighting
Another way to highlight your subject through a single light source is by using backlighting or rim lighting.
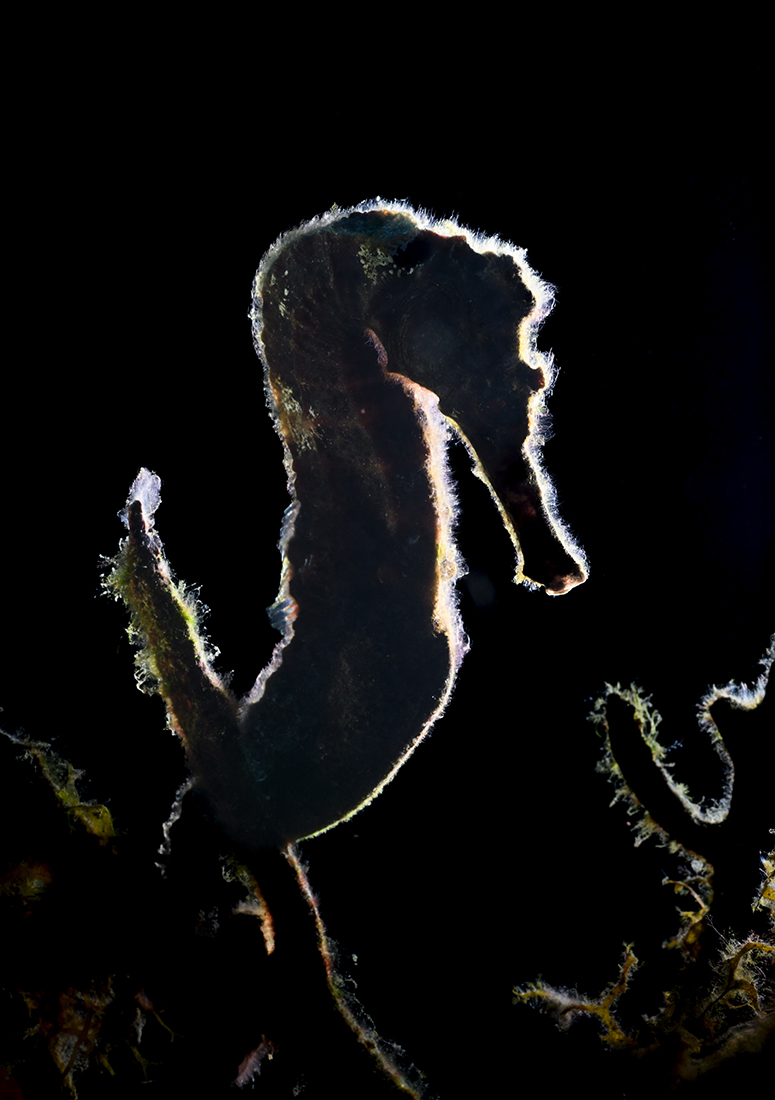
Rim lighting exposes only the contours of a subject without lighting its unwanted features. To achieve this stately profile on the seahorse, the single light source was placed not directly behind, but slightly to one side. This created a dramatic separation from the background, beautifully accentuating the seahorse’s profile and form.
Whether your subject is large or small, the key to captivating underwater imagery is not the quantity of light sources, but how you choose to light your subject.
The objective here is to master the tools you do have instead of constantly focusing on what you don’t. By embracing the limitations and creative opportunities of a single strobe, you will undoubtedly become a more thoughtful and effective underwater photographer.
